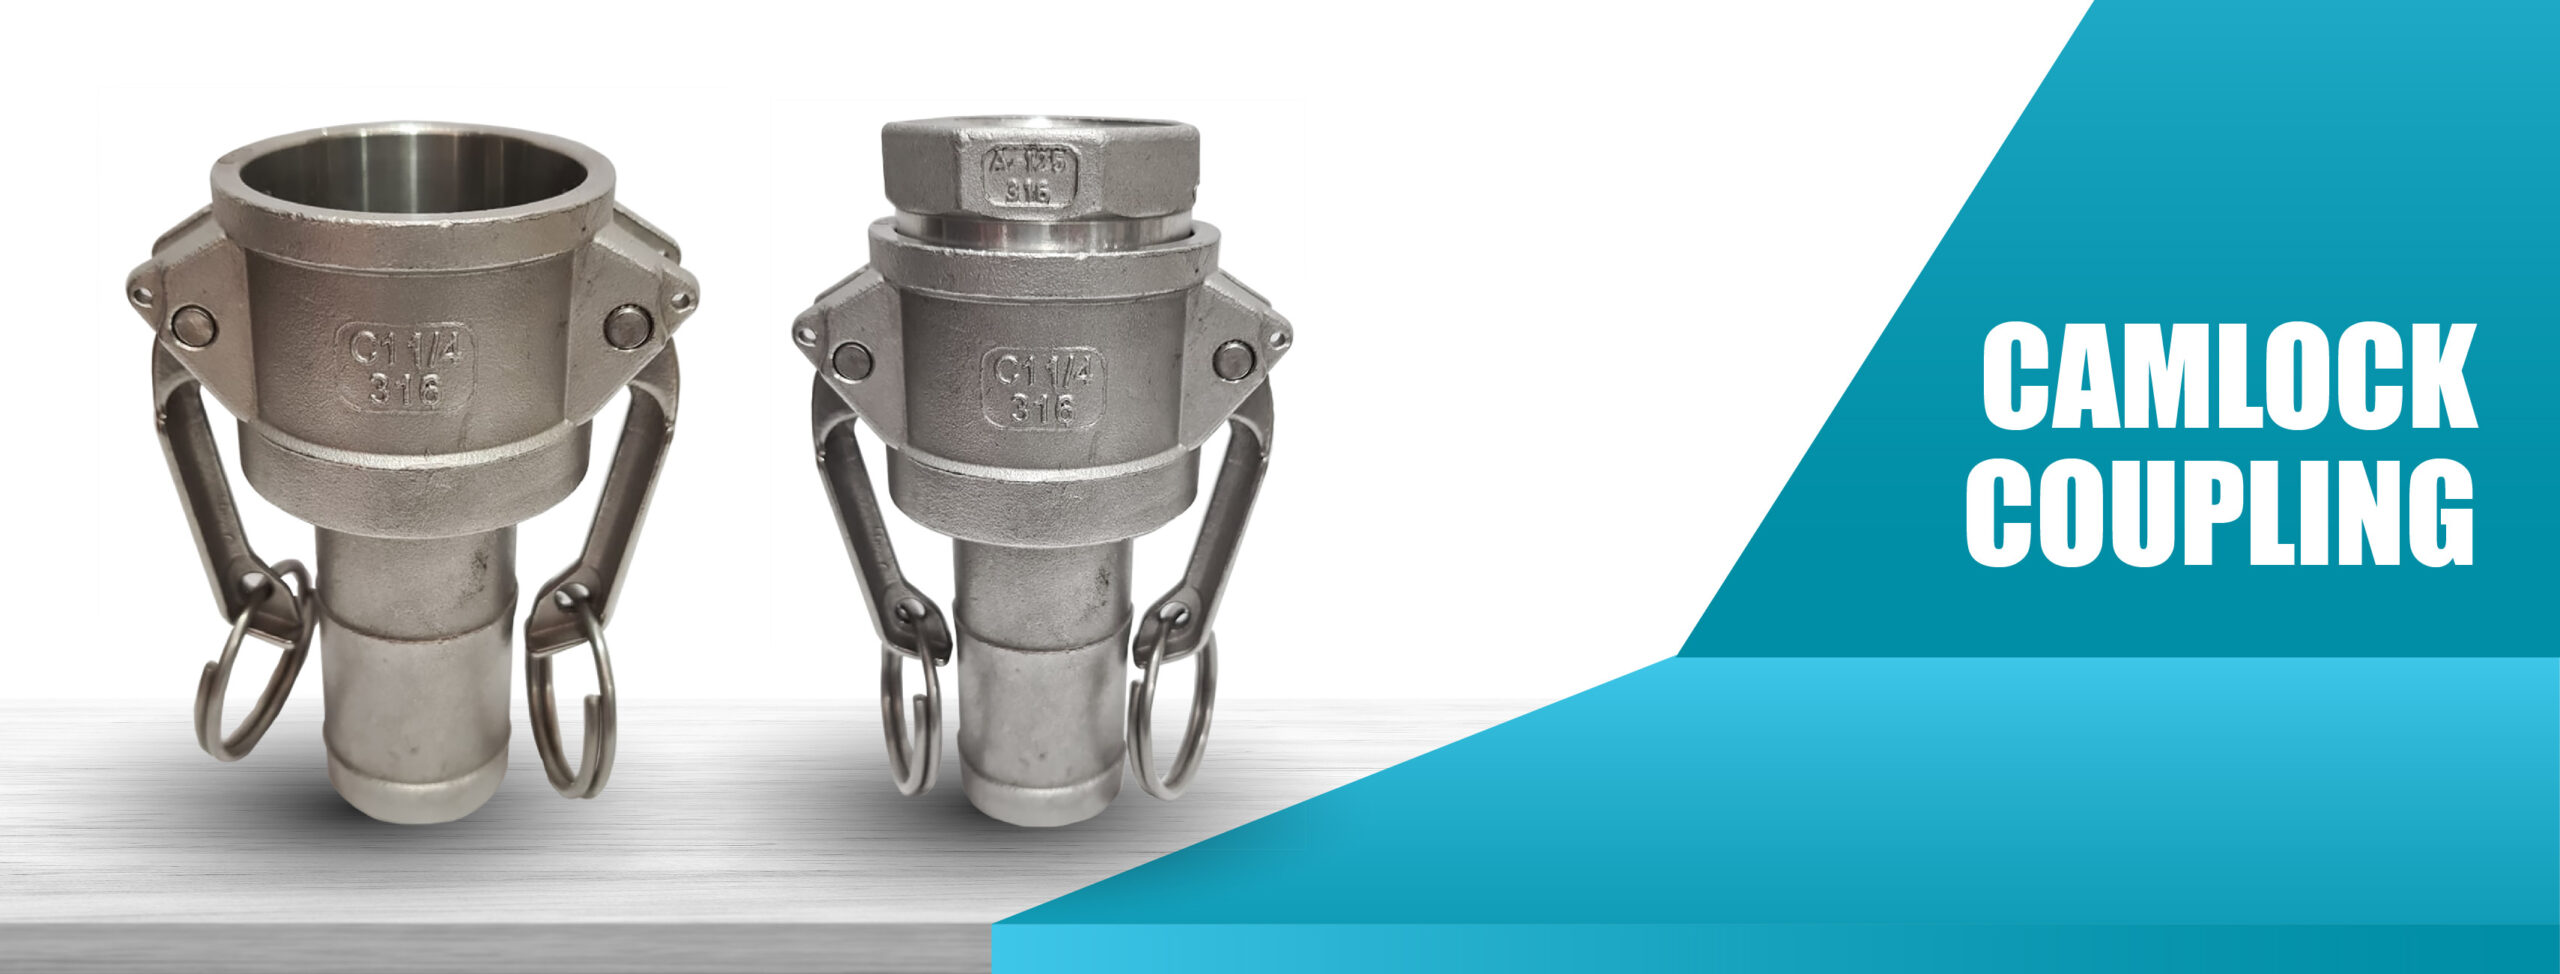
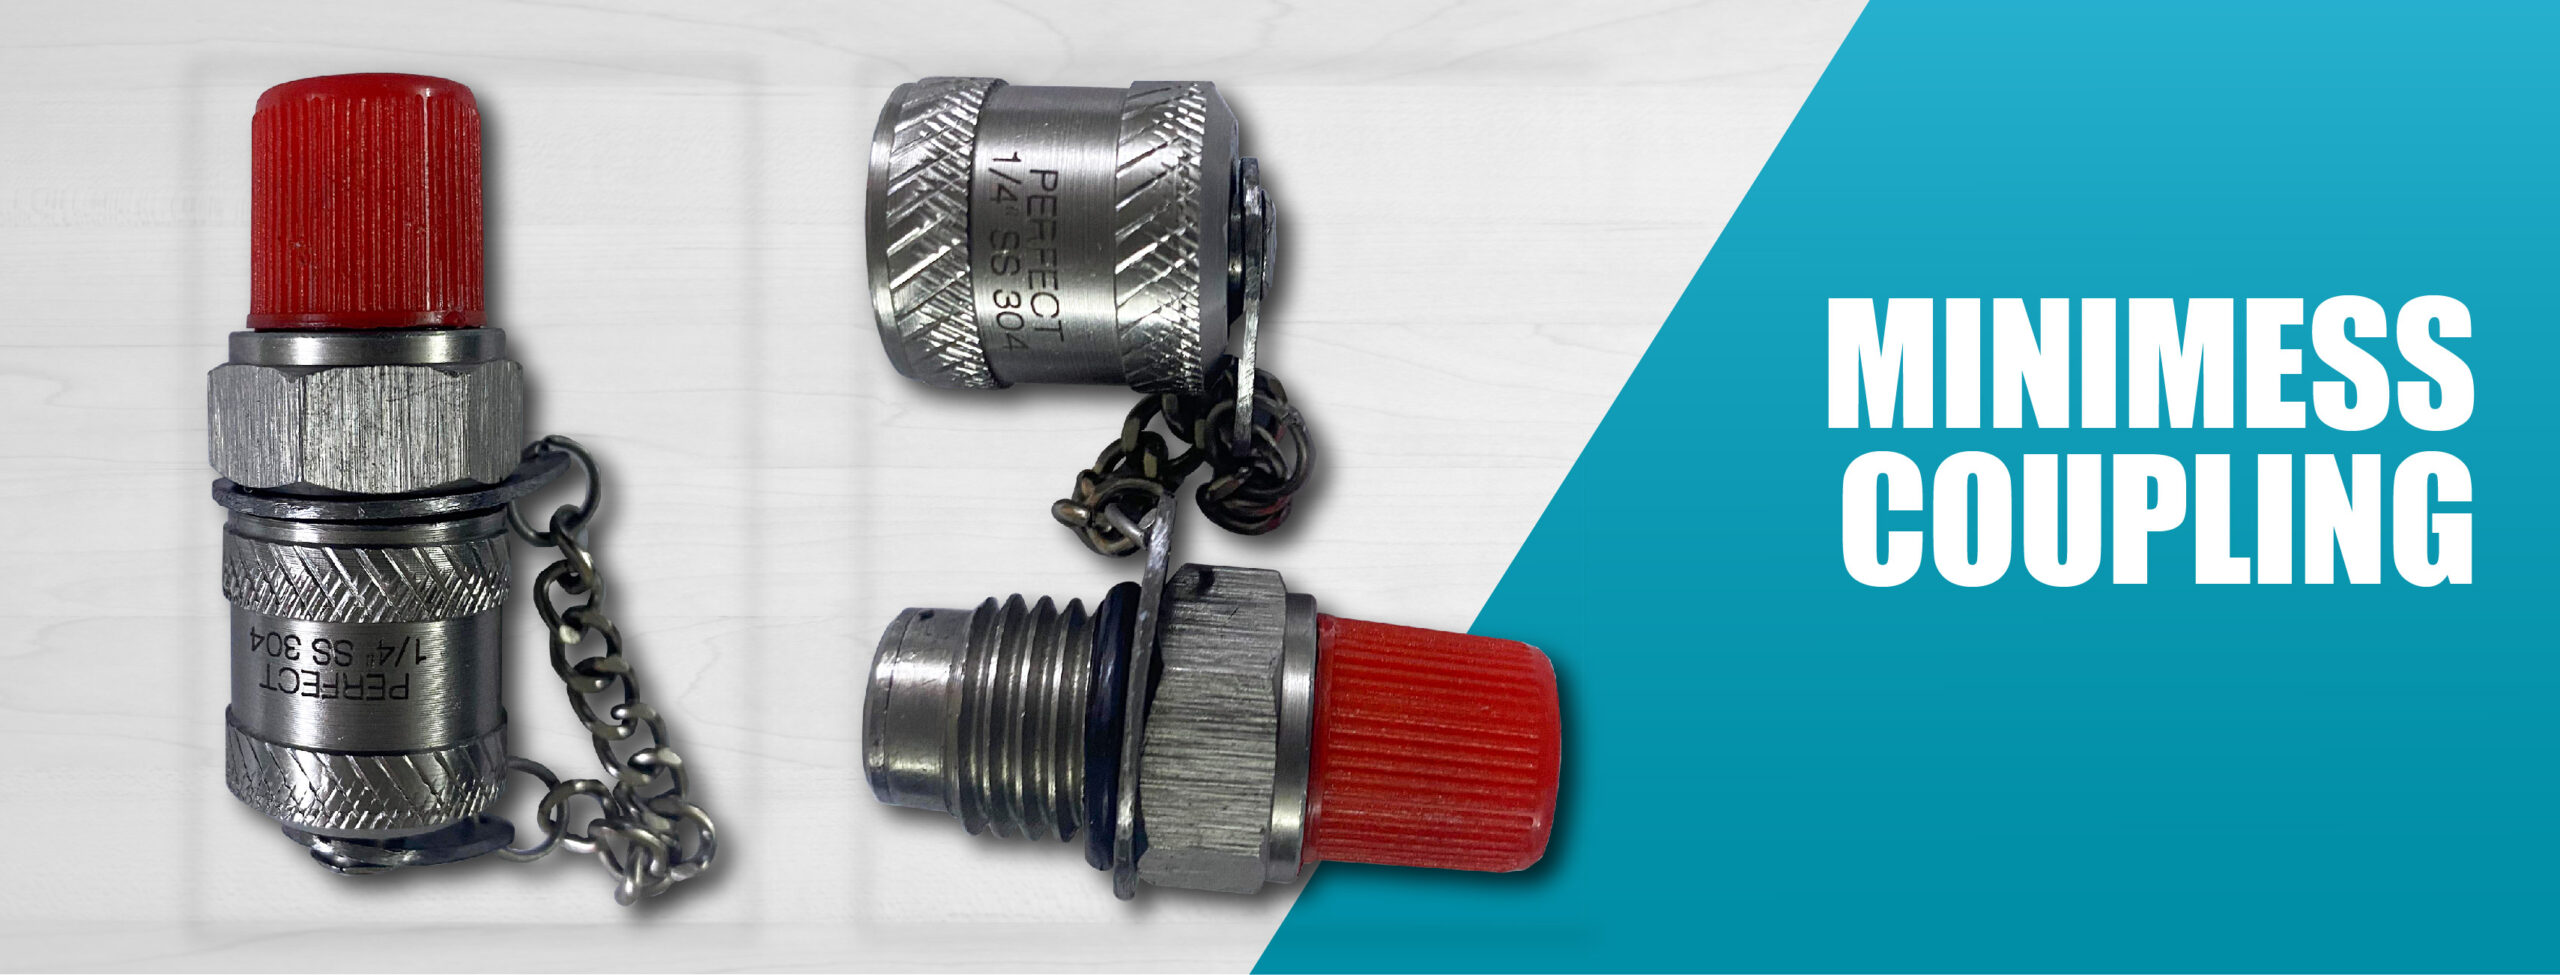
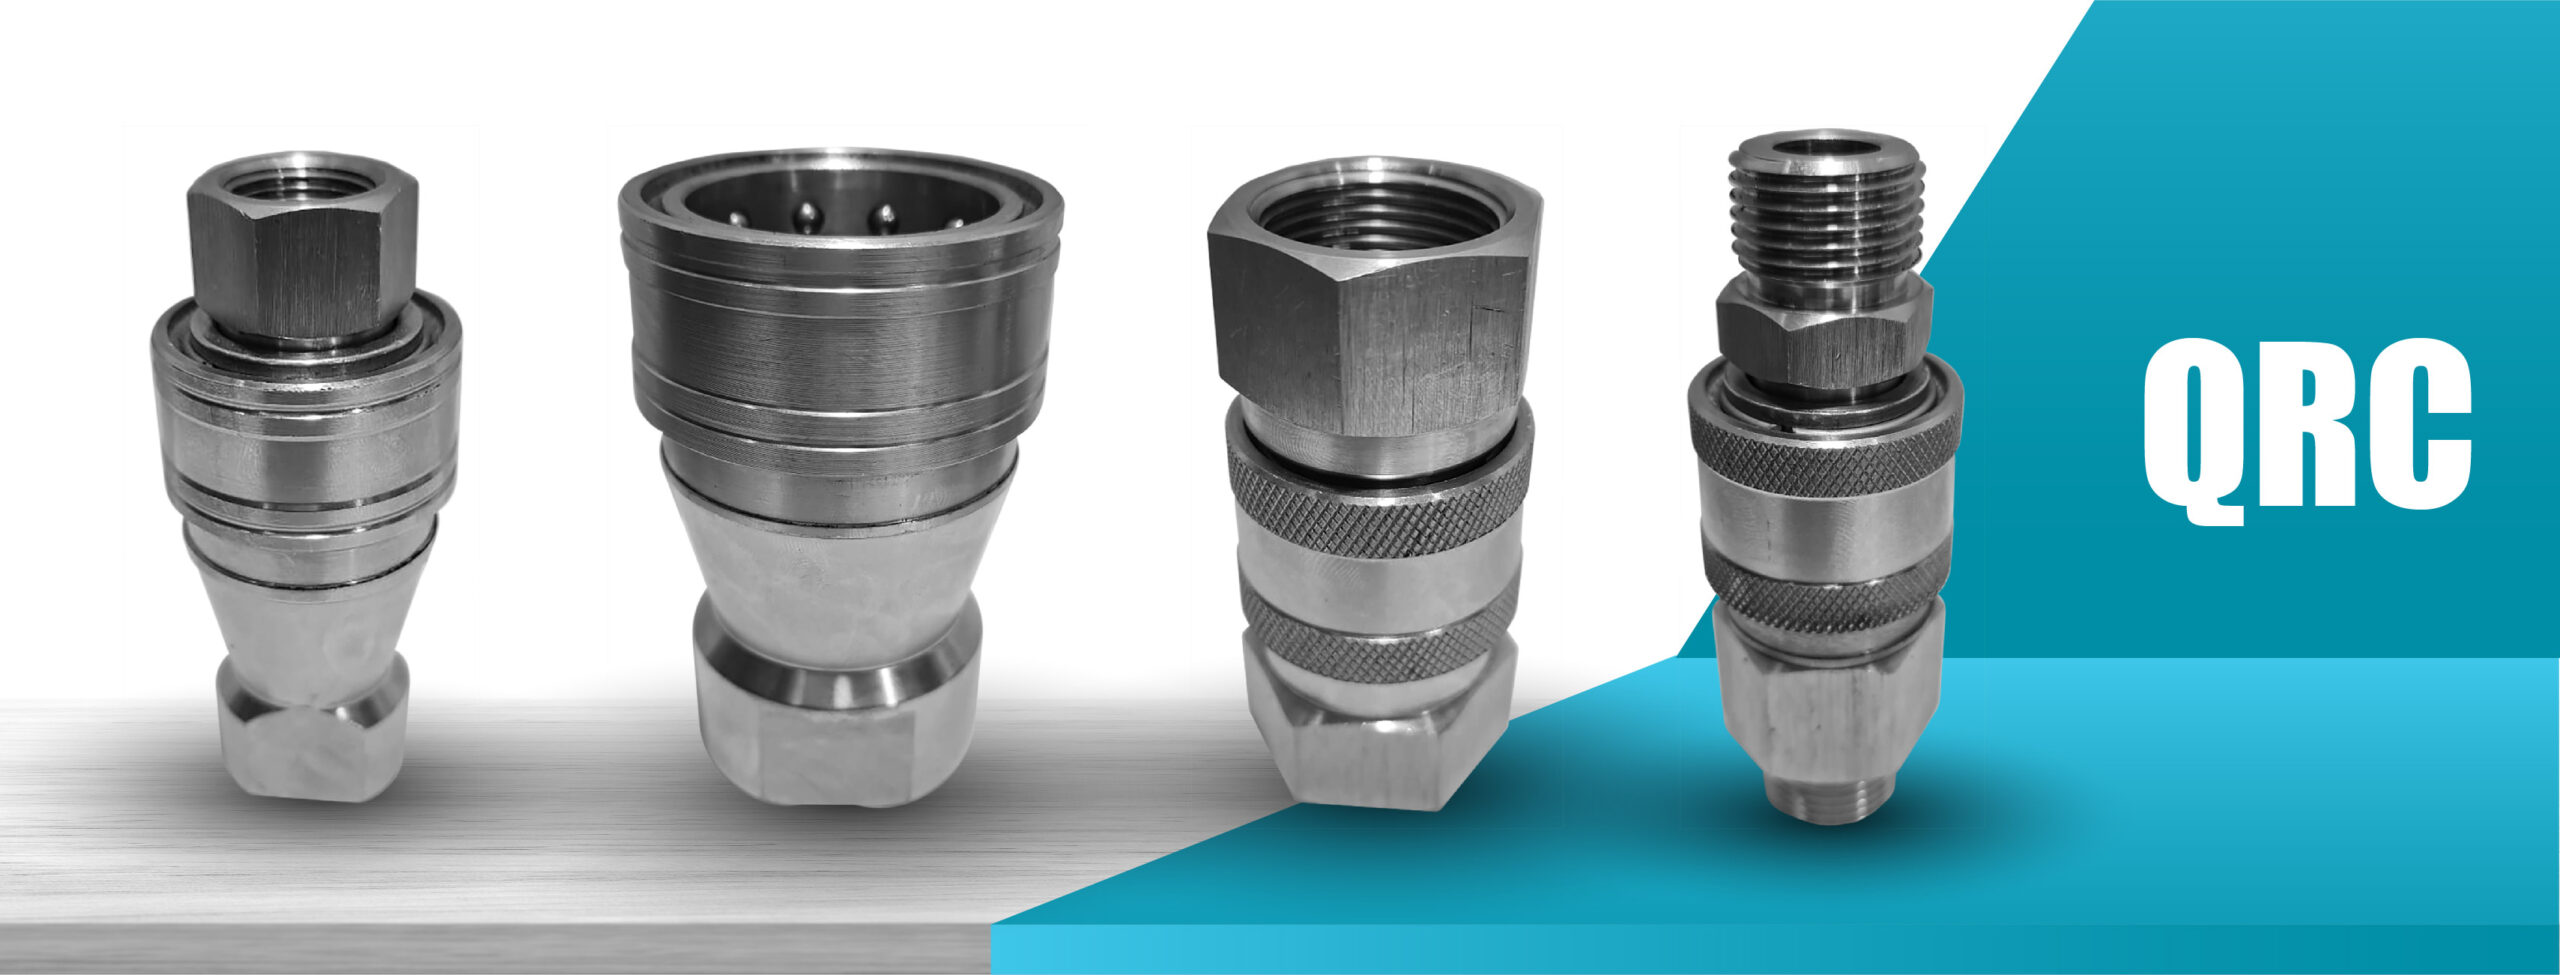


With a legacy of technical excellence and a future focused on innovation, we design and manufacture Camlock Couplings, Ferrule Fittings, Minimess Test Couplings, and Hydraulic Adapters that ensure leak-proof, high-pressure, and vibration-resistant performance in every critical application.

We offer these products categories across markets to various destinations including India and Indian subcontinent, East Asia, South East Asia and Middle East.
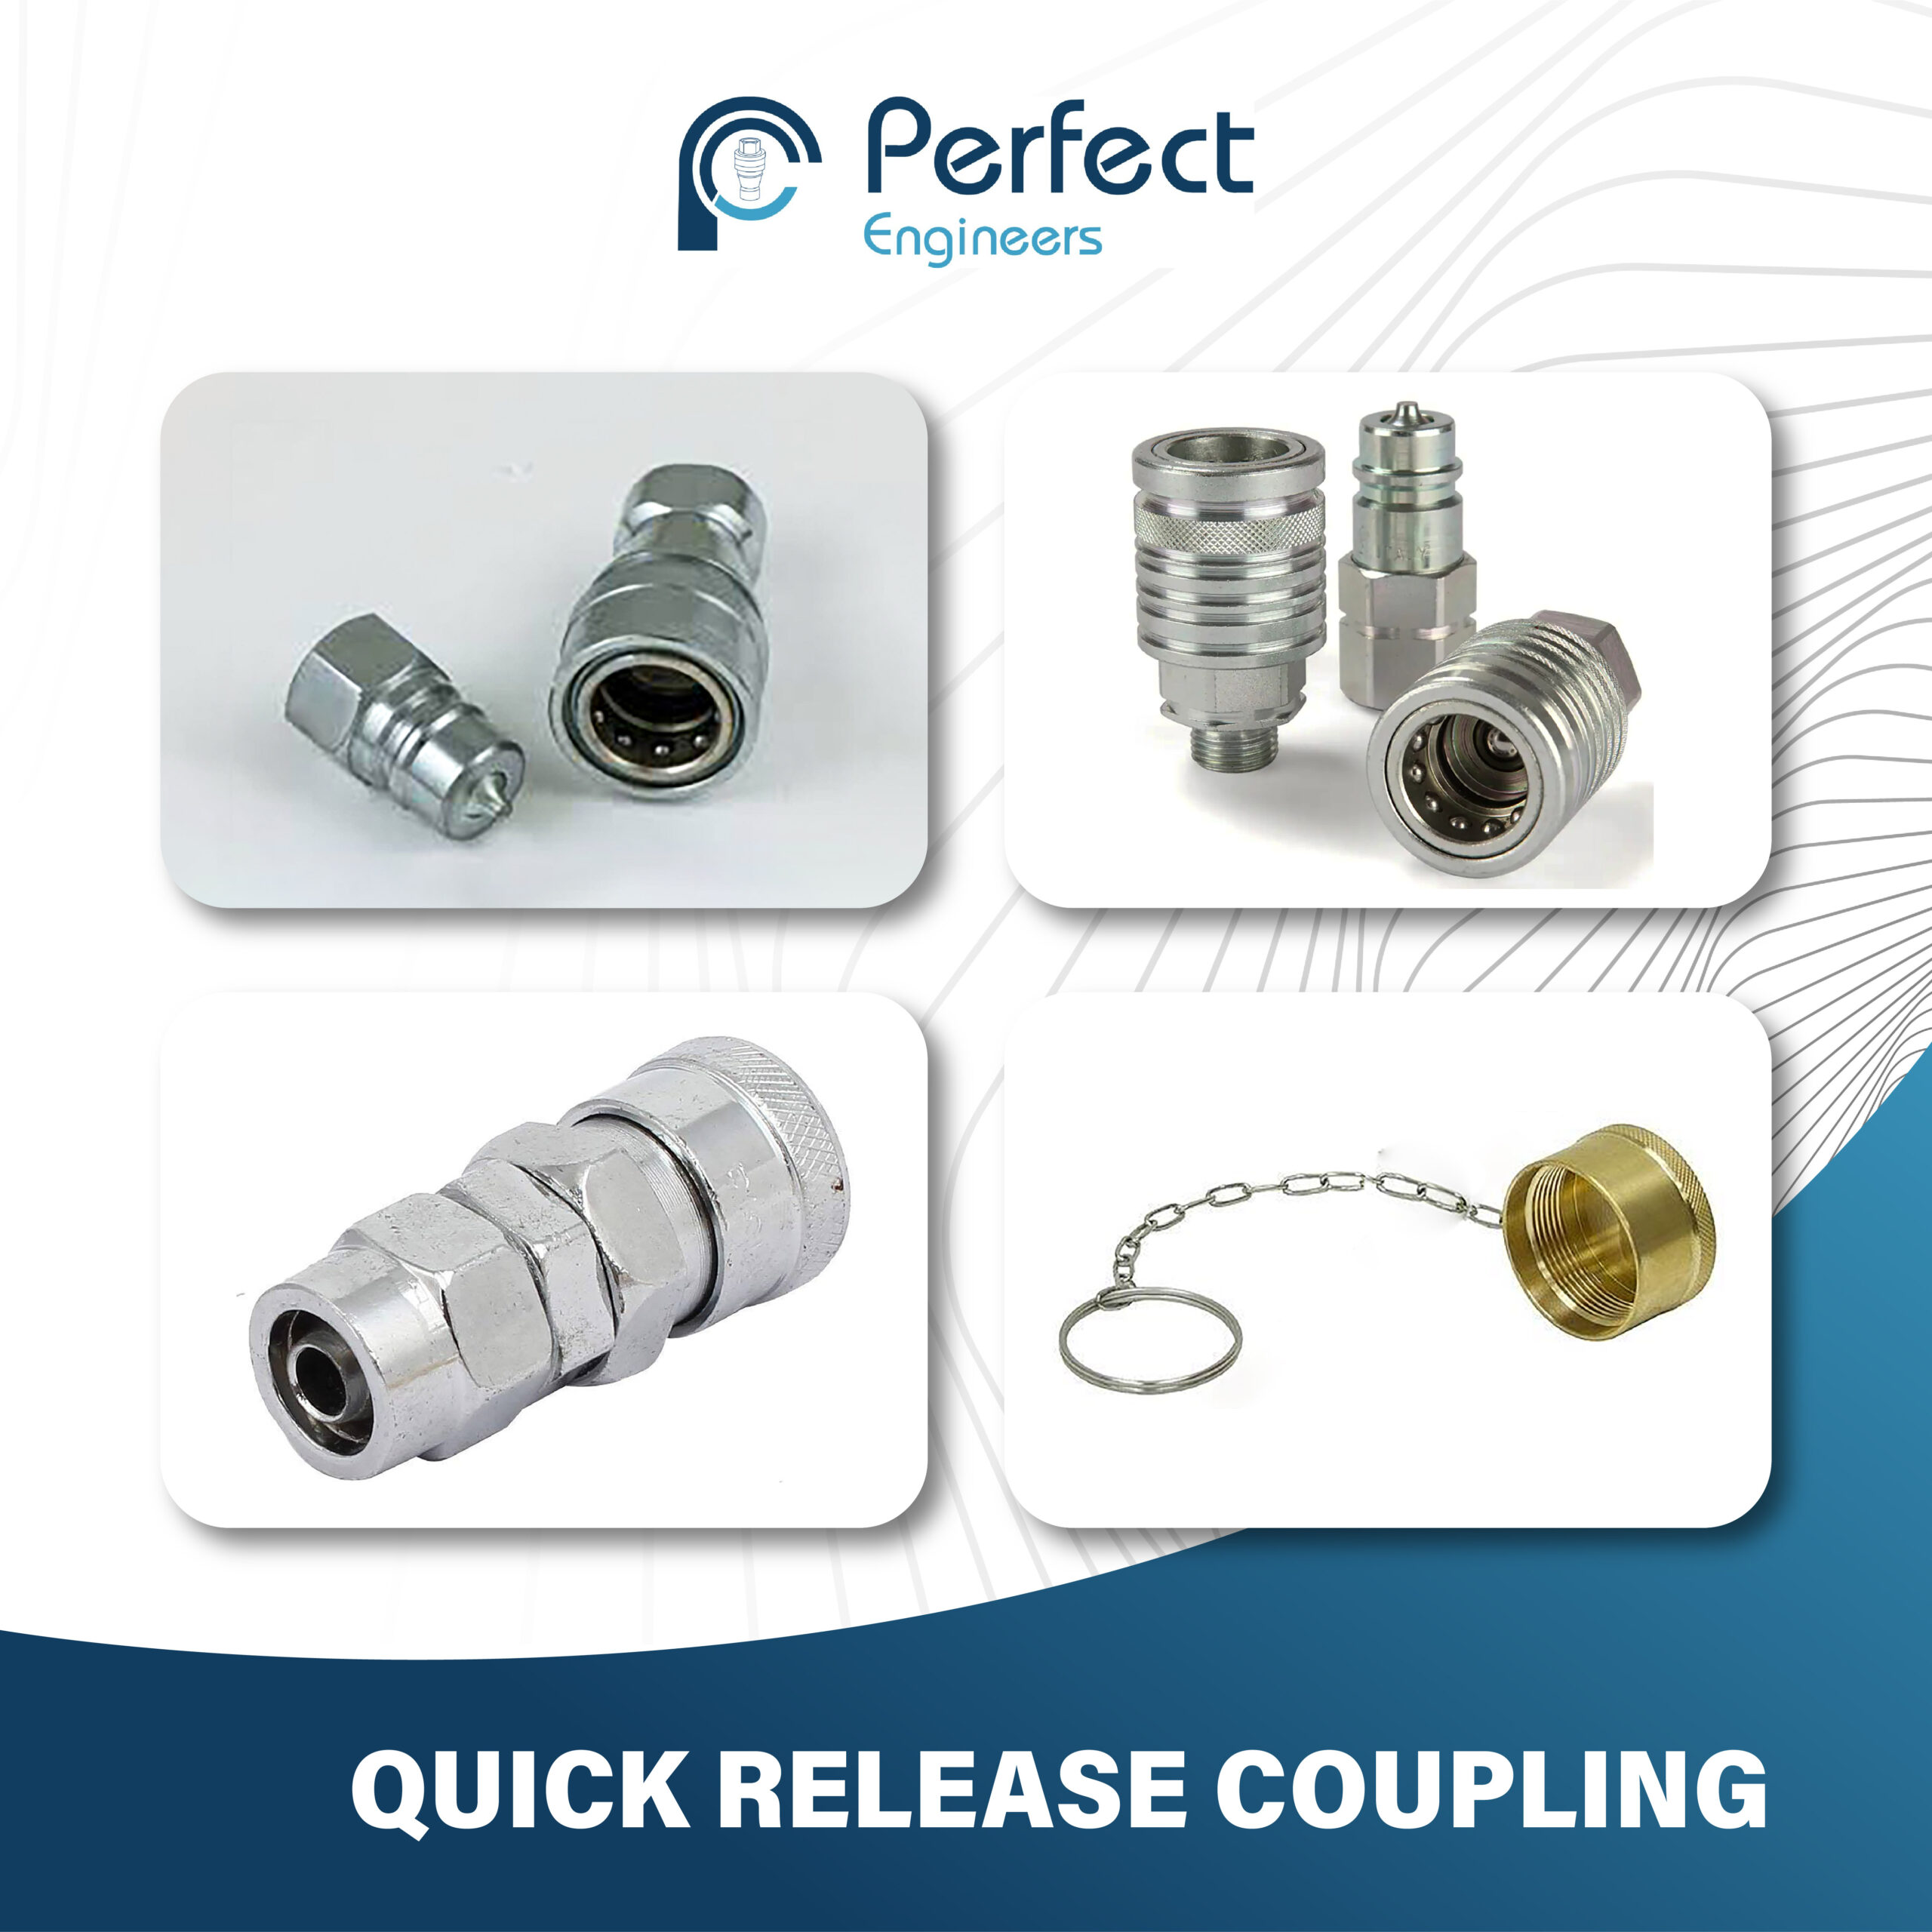

Perfect Engineers is an ISO 9001:2015 certified manufacturer, exporter, and OEM supplier of Quick Release Couplings (QRC) based in Mumbai, India. Built to serve a wide range of high-pressure, quick-connect fluid applications, our QRCs are precision-engineered for seamless integration across hydraulic, pneumatic, chemical, and gas systems worldwide.


Perfect Engineers offers a comprehensive range of Camlock Couplings (Cam and Groove Couplers) designed for rapid hose-to-hose or hose-to-equipment connections across industrial fluid systems. Trusted for their tool-free design and robust locking mechanism, Camlocks are ideal for agriculture, chemicals, oil & gas, food processing, and construction sectors.


Perfect Engineer’s PE LOCK™ Non-Return Valves (NRVs) are precision-engineered flow control devices designed to allow unidirectional flow and prevent backflow in pipelines, hydraulic lines, compressed air systems, and liquid transport lines. Built to deliver leak-proof performance and long service life, our NRVs are ideal for applications requiring fluid isolation, pressure retention, and back-surge protection across critical operations.
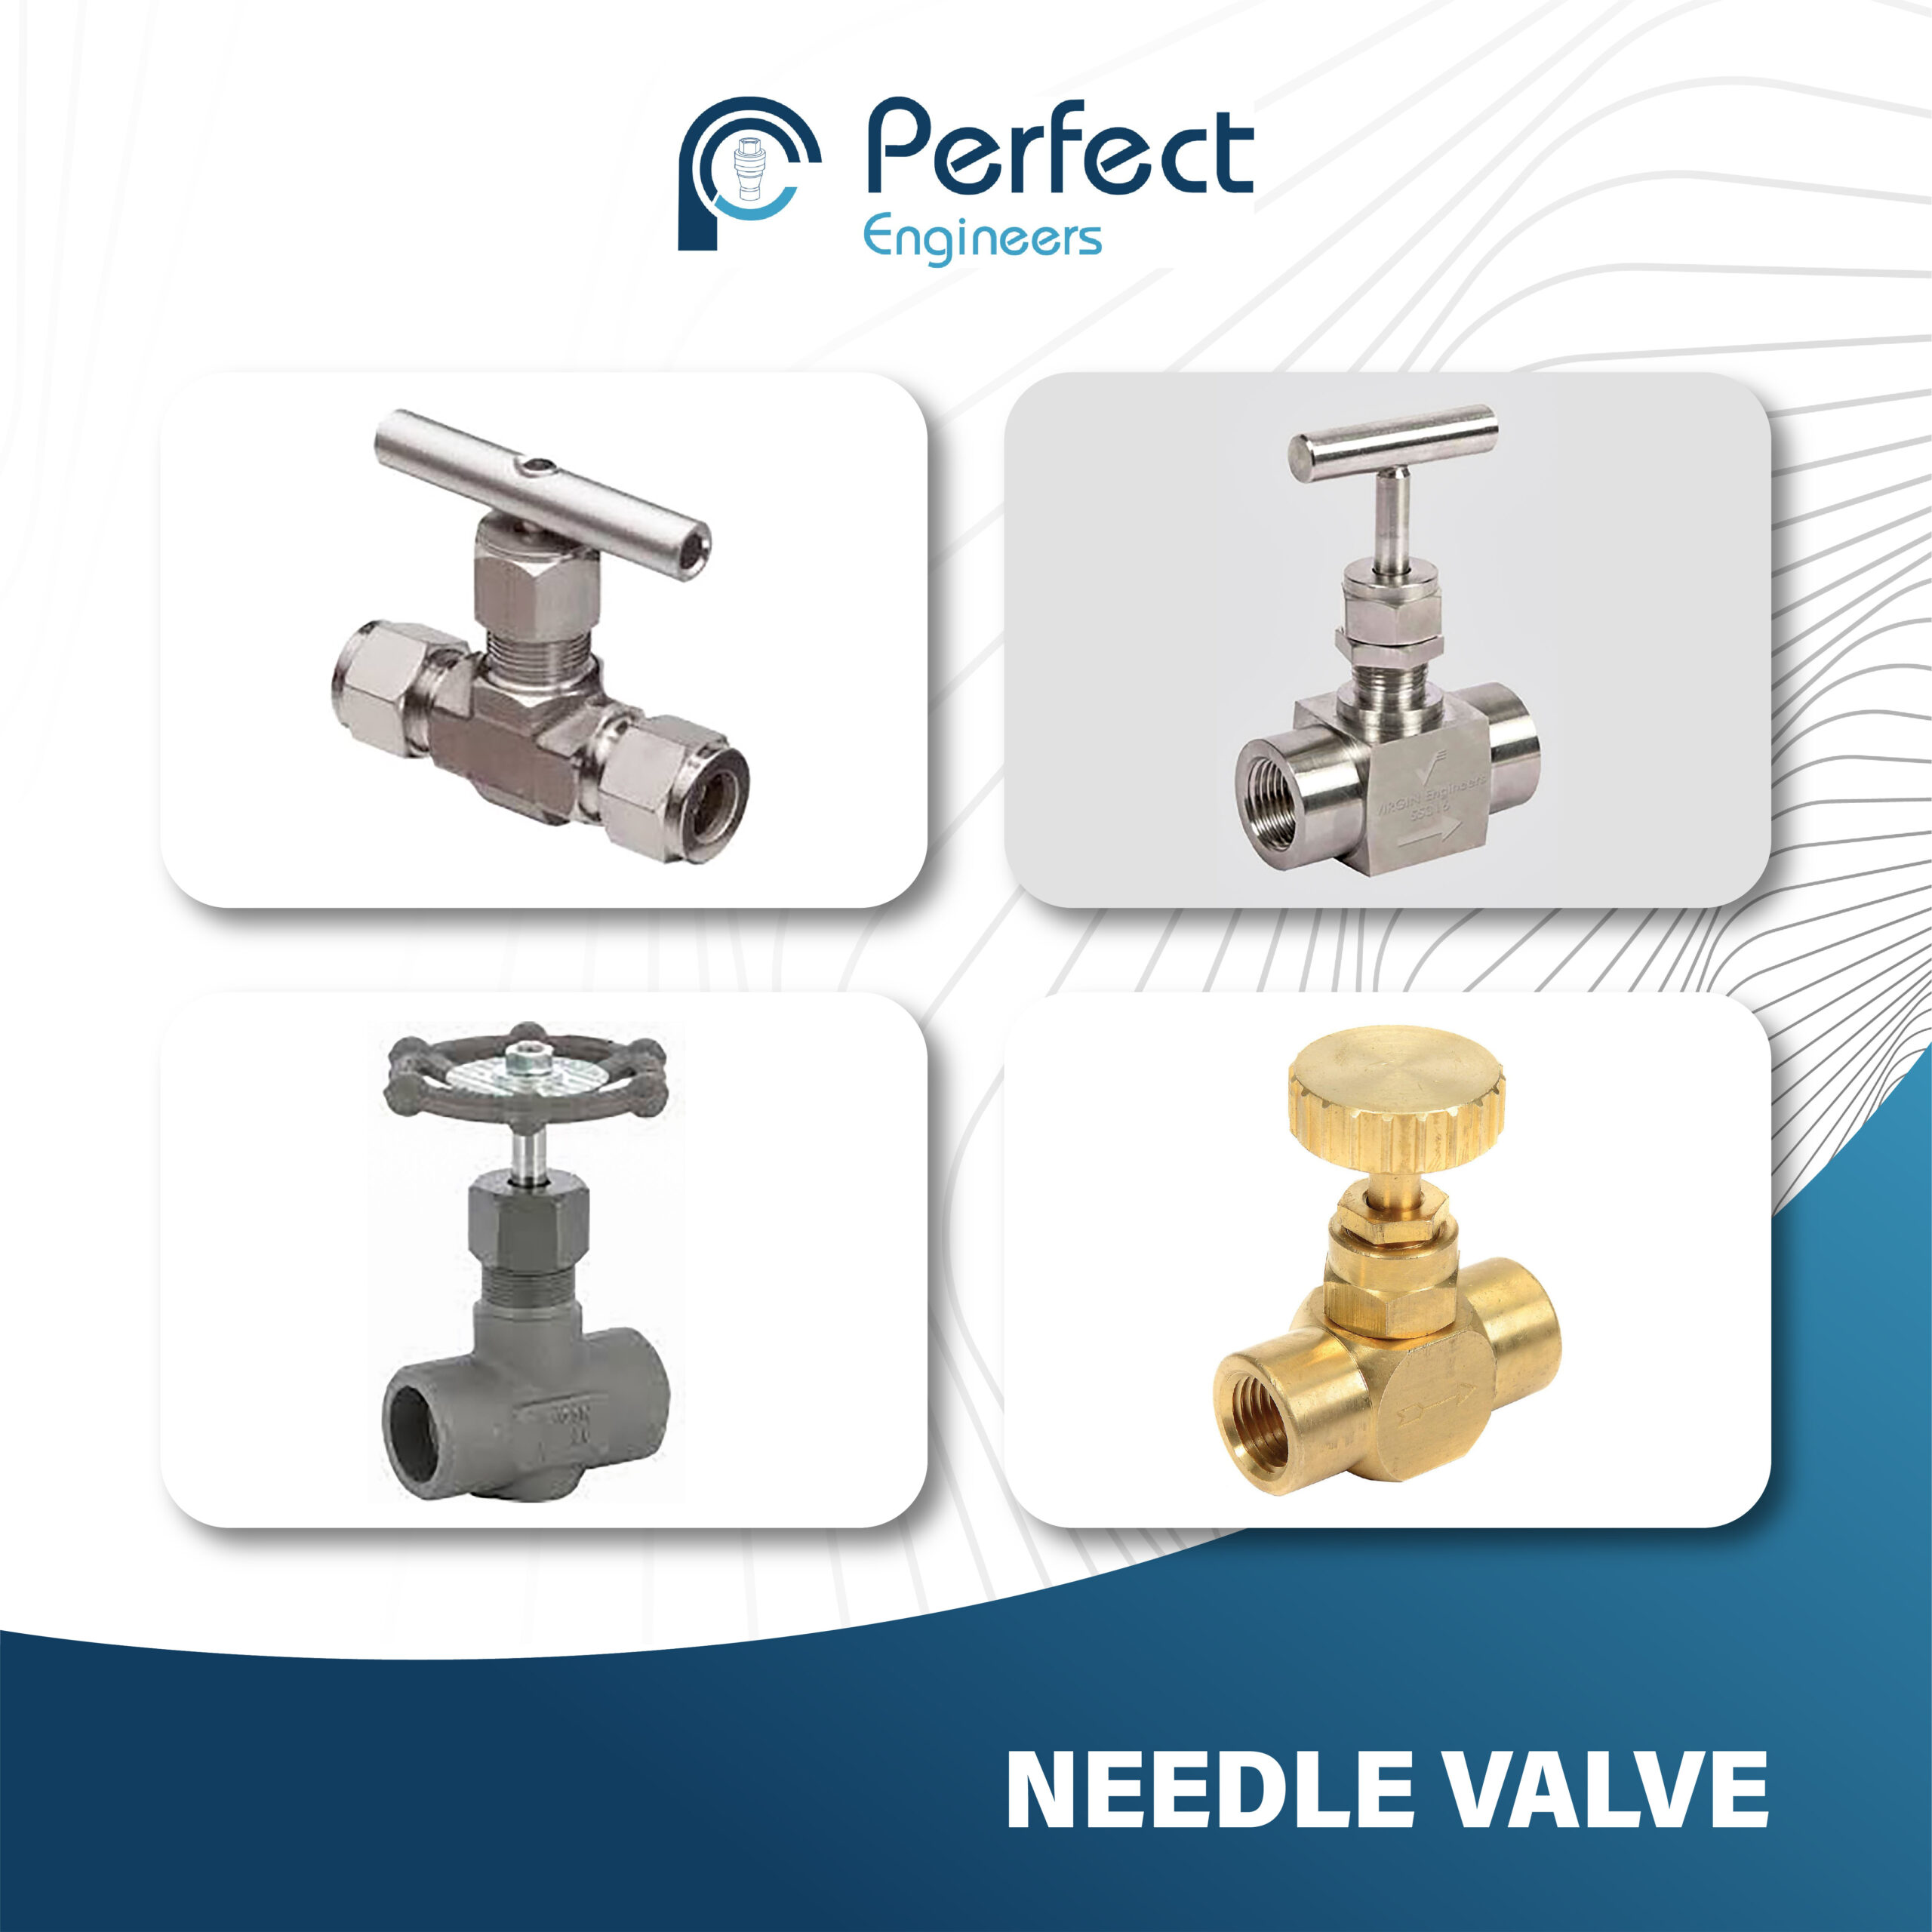

Perfect Engineers is a renowned name in the Indian industrial valve manufacturing sector. We specialize in the production and global supply of high-performance needle valves designed to deliver pinpoint flow control in critical applications. Whether your requirement is for stainless steel, brass, carbon steel, or custom-built needle valves, we’ve got the expertise, infrastructure, and experience to deliver what your process needs.


At Perfect Engineers, we specialize in the manufacturing and export of precision-engineered ball valves used in a wide range of industrial, commercial, and utility pipelines. Whether you’re handling water, oil, steam, gas, or aggressive chemicals, our valves are designed to deliver leak-proof performance, minimal maintenance, and long-lasting service in your system.


Perfect Engineers offers Minimess Test Couplings, engineered for quick, safe, and accurate pressure measurement, sampling, and venting operations. Designed for compatibility with standard test hoses and gauges, our Minimess QRCs ensure leak-free performance in hydraulic diagnostics and maintenance routines


Whether you’re building a high-pressure gas pipeline, managing chemical transfer lines, or installing instrumentation systems, our ferrule pipe fittings ensure uncompromised sealing and safety.




Perfect Engineer is a trusted Indian manufacturer of precision-engineered flow control and fluid handling components under the PE LOCK brand, serving industrial clients across India and globally.
PE LOCK is the registered brand of Perfect Engineer that represents our complete range of quick release couplings, camlock couplings, instrumentation fittings, valves, and hydraulic components. All products are designed, tested, and manufactured in-house.
We serve a wide range of industries including oil & gas, chemicals, pharmaceuticals, food & beverage, hydraulics, marine, power plants, water treatment, and industrial automation.
We are OEM manufacturers. All products under the PE LOCK brand are 100% manufactured in India at our own facility, using CNC machining, forging, and testing systems that meet global industrial standards.
Yes. We offer custom design, development, and manufacturing of couplings, valves, and fittings as per client drawings, specifications, and pressure/temperature ratings.
We follow ISO 9001:2015 quality management systems, and our products are designed as per ASME, ASTM, DIN, JIS, and BS standards. Every product batch undergoes hydro, pneumatic, and dimensional testing.
Our products are used in critical systems like hydraulic test benches, pneumatic circuits, fuel lines, instrumentation panels, high-pressure pump lines, compressor systems, and dosing skids.


Copyrights © 2025 Perfect Engineers. All rights reserved. Developed & Managed by AdinAds